One of the new features in v22 is Icon Fonts. First what does that mean? You will notice a lot of modern sites are going to clean and simple designs with graphics for buttons, etc. being flat and simple (ala window metro). Prior to v22 we had to create those icons as graphics. In fact if we wanted to have a rollover effect on we needed to create 2 graphic files, one for each color.
I have been using and recommending Metro Studio for that purpose and it works well. But it does mean you must maintain a series of graphics for your site, and if you decide to change your color scheme, you would need to regenerate those graphics. There are other downsides to graphics, such as size of your html page, responsive design issues, etc.
Icon fonts solve all of these issues, and is yet another example of PCSOFT keeping up with new innovations and incorporating them into the IDE for us. With Icon fonts you are using a font to produce these flat icons. Think “wingding” font from the early days of windows. Since this is a font, and not a graphic, your normal style settings for colors, etc. affect them as well, there is not graphic files to maintain and track, responsive technology can resize the same as it does any font, and the resulting size of your html is smaller.
So the only question that remains is how the heck do you use them in WebDev 22? Well this help page tells you all about it. But it wouldn’t be very “Uncle Pete” of me to stop there, would it. So here is a step by step of using an Icon Font on a website I am putting together.
First the key to using Icon Fonts is you have to use them where Rich Text is enabled, which is nearly all controls in Webdev these days. There are two exceptions that I have notice. First is simple static, which makes sense as it is a “simple” static, you need to use a Rich Text Area for HTML statics. The second seems like a bit of an oversight to me, links do not allow HTML captions, so as you will see shortly I had to create a button, instead of a link.
So on to the details. We are creating a shopping site, and as with most shopping sites, we want a “view cart” button in the header. This is where I would normally fire up metro studio and create a couple of cart graphics. But instead I am going to use the new Icon Fonts.
Step 1, I drop a button on the page, depending on what skin and style settings you have your button may look a bit different but no matter we are going to change call of the style settings anyway.

No right click on the button and edit the caption.

If you prefer to do it from the multitab description window, just be sure you use the “Edit the rich text” button to edit the caption.
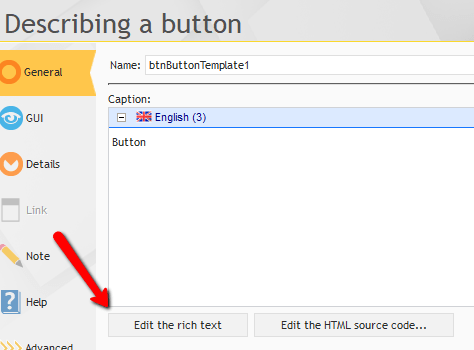
Either way, you will end up at the same place. Editing the caption directly in the IDE, and the text tab of the ribbon bar will be active.

And you can now see the new Font Icons option. Clicking on that gives me a selection screen where I can choose from several Icon Font Collections and search for a icon.

I choose one of the carts from Material Design Icons. And now my button looks like this

Not exactly the flat look I am going for, so now I just need to tweak the style settings some. So back to the multitab description window, and one the styles tab, I want to click “more options”.

If you haven’t used the “more options” link before, it may seem a bit intimidating as this is where all of the CSS settings for a control are.
Starting with the Text Tab I change:
Size: 16px
Color: Negative (Text 2)

On the Background tab, change:
Color: <Undefined>

On the Border tab, change:
Rounded: (empty)

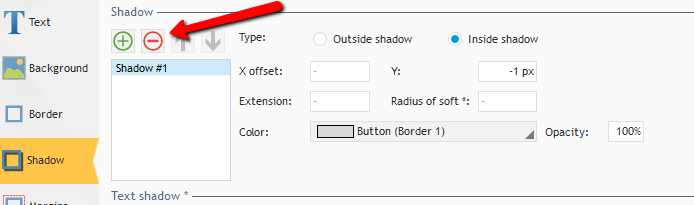
On the Shadow tab delete the existing shadow entry
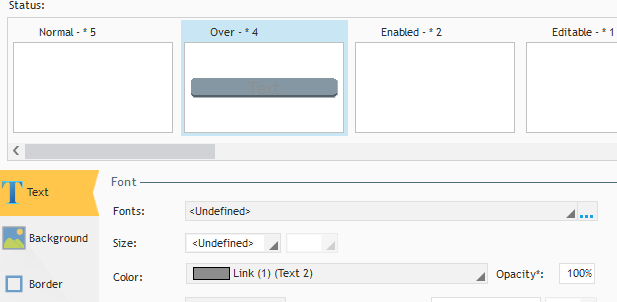
At this point you will notice that the top of the screen, shows the “Over” status still looking like a button. So click on it and make a few more adjustments, much of which are to remove overrides.
On the Text tab change:
Size: <Undefined>
Color: Link (1) (Text 2)
On the Background tab, change:
Color: <Undefined>
On the Border tab, change:
Rounded: (empty)
On the Shadow tab delete the existing shadow entry
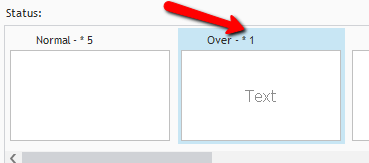
If you got all the overrides you should only see one in the status section, which is the color settings we set on the Text tab. BTW, if you are curious where I got the color settings from, they match the settings I am using for my links style that is showing in the same area.
The last step, is you should add this style as a WebDev style so you can use it for the reset of your icon buttons.

Here is the end result on the site I am creating:
Normal:

Rollover:

This is another example of a new feature in WebDev v22 that isn’t my any means a “Huge” feature. But not only does it show PCSOFT’s continuing commitment to incorporating new innovations, it is also an example of how these little features contribute to the “Develop 10 times faster” moto. I no longer need to fire up metro studio, maintain and track multiple graphic files, make sure their colors match the rest of my style, etc… Which all contributes to me getting more done in a shorter period of time, and being able to concentrate on the important stuff!

2 thoughts on “Using Icon Fonts in v22”